Umbrella Canopy Panel Engineering: Seams, Darts, and Tension
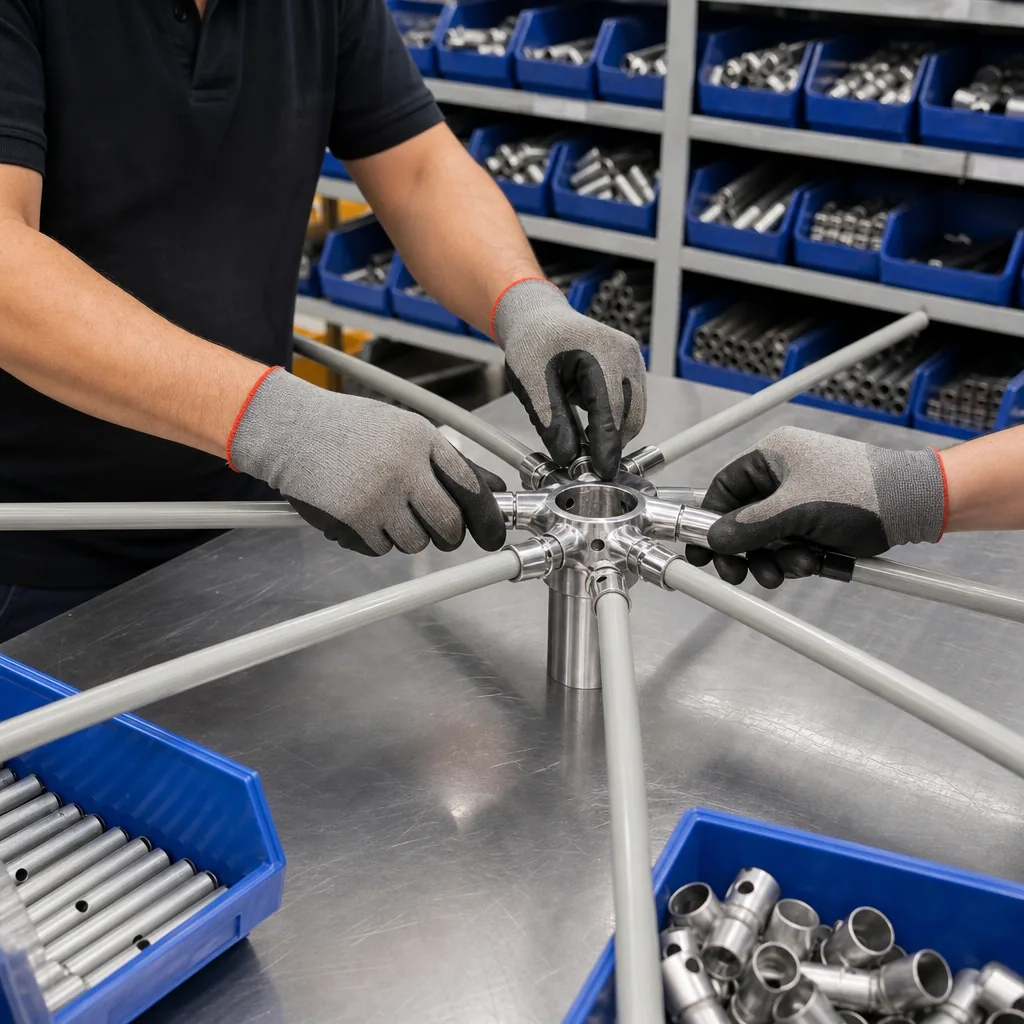
Buyers often focus on fabric and frame strength, but canopy performance is usually decided earlier, at the panel pattern and sewing line. In umbrella canopy panel engineering, small choices in seam allowance, dart placement, and stitch control determine whether a canopy stays taut, sheds water cleanly, and carries print without distortion on the factory floor.
How panel geometry affects canopy shape
In umbrella canopy panel engineering, panel count is the first decision that changes everything downstream. A 6K canopy gives you broad, simple panels that are faster to cut and sew, while 8K, 10K, or 16K layouts break the dome into narrower pieces that hold a rounder profile and usually track the frame more cleanly. Wider panels stretch more between ribs, so you see more “smile” at the hem and more drift at the seams; narrower panels reduce that movement, but they also increase sewing labor and the number of critical junctions where edge alignment can go wrong. On production lines, we look at panel geometry before we look at print or coating, because bad geometry will fight the frame no matter how good the fabric is.
Panel width has a direct effect on coverage and tension balance. With pongee 190T, a panel that is too wide will show more bias stretch on the diagonal, especially near the rib tips and top cap, which makes the canopy look loose after opening. If the panel is cut too narrow without adjusting the gore angle, you get a tight crown and a hem that pulls inward, so the umbrella may open hard or leave gaps between panels. Good OEM canopy specs usually define width, seam allowance, and hem fold together, because those three numbers determine whether the canopy sits flat on the frame or twists when the runner locks.
Darts are the correction tool when the panel shape needs controlled shaping instead of brute-force width changes. A well-placed dart can take excess material out of the upper third of the panel, improve canopy seam tension, and help the lower edge meet the rib line without forcing the cloth to buckle. We use darts sparingly on standard promotional styles because they add operations and inspection points, but they are useful on deeper-domed or vented canopies where the geometry is unforgiving. In practice, umbrella canopy panel engineering is not just about making pieces fit; it is about balancing stretch, coverage, and edge alignment so the canopy opens cleanly, closes without wrinkling, and stays consistent across the full order.
Seam allowance, stitch density, and leak control
In umbrella canopy panel engineering, seam allowance is not a guess-and-check detail; it is what decides whether the canopy holds shape after repeated opening cycles. On OEM canopy specs, I normally see 6-10 mm allowances on woven panels, with 7-8 mm being the practical sweet spot for pongee 190T because it leaves enough meat for the lockstitch without building a bulky ridge. Stitch length usually lands around 2.5-3.0 mm for standard seam construction; go too long and the seam opens under canopy seam tension, go too short and you perforate the fabric line and create a weak, hard fold. Topstitching is useful on visible seams, but only if the operator keeps it consistent; otherwise the panel edge twists and the canopy starts to drift off-center during assembly.
Leak control starts with controlling needle holes, not with trying to fix water ingress later. Tighter stitch density helps, but there is a limit: if the seam is over-sewn, the thread line can wick water faster than the fabric repels it, especially on lightweight panels with panel darts that already concentrate stress at the apex and hem. For rain umbrellas, seam tape or heat-sealed seam tape on compatible coated fabrics gives the best barrier; on standard sewn pongee 190T, a PU or silicone sealing pass along the inside seam is the usual fallback. The cleanest production method is to combine stable panel cutting, consistent panel darts, and controlled stitch spacing so the seam lies flat before any tape is applied.
The failure mode I watch for on factory floors is not the seam itself, but the way uneven tension stretches one panel harder than the next. Once the operator pulls different panel groups differently, the canopy looks fine on the bench and then starts leaking at the stitch line after the first wind load or spray test. Good umbrella canopy panel engineering keeps the allowance, seam tape width, and stitch density matched to the cloth weight and the finished size, because a 23-inch compact canopy and a 30-inch golf canopy do not behave the same. If the sewing spec is written properly, the seam stays low-profile, the tape bonds cleanly, and the water path stays outside the stitch holes instead of traveling along them.
Pongee 190T vs 210T for production stability
In umbrella canopy panel engineering, pongee 190T is the safer default when you want predictable cutting and sewing on high-volume promo runs. It has a lighter hand, less bulk at the seam line, and it feeds through the automatic cutter and single-needle machines with fewer problems at the panel edge. For OEM canopy specs that prioritize cost and fast turnaround, 190T gives you enough body for a clean print surface without forcing the stitch holes open too far, which helps keep canopy seam tension even after repeated opening and closing.
Pongee 210T is thicker, tighter, and a little more forgiving when the umbrella has larger panels, deeper panel darts, or a stronger frame that loads the canopy harder in wind. The extra density improves drape control and reduces seam distortion, especially on 23" and 27" retail umbrellas with fiberglass ribs, vented double-canopy constructions, or UV-coated fabric. In the factory, I’d use 210T when the buyer wants a more premium hand feel and better seam stability, because the fabric holds needle lines better and is less likely to pucker at the apex and hem.
The tradeoff is that 210T adds cost and can slow sewing slightly, so it is not the right answer for every program. For basic promotional umbrellas with simple screen print and short life expectations, pongee 190T usually balances appearance, efficiency, and price better. For retail umbrellas where canopy shape, panel darts, and long-term seam behavior matter, 210T gives more margin against wrinkling and panel creep. In practice, the right choice comes down to whether the project needs lowest piece cost or tighter production stability under real use.
Print registration and panel matching
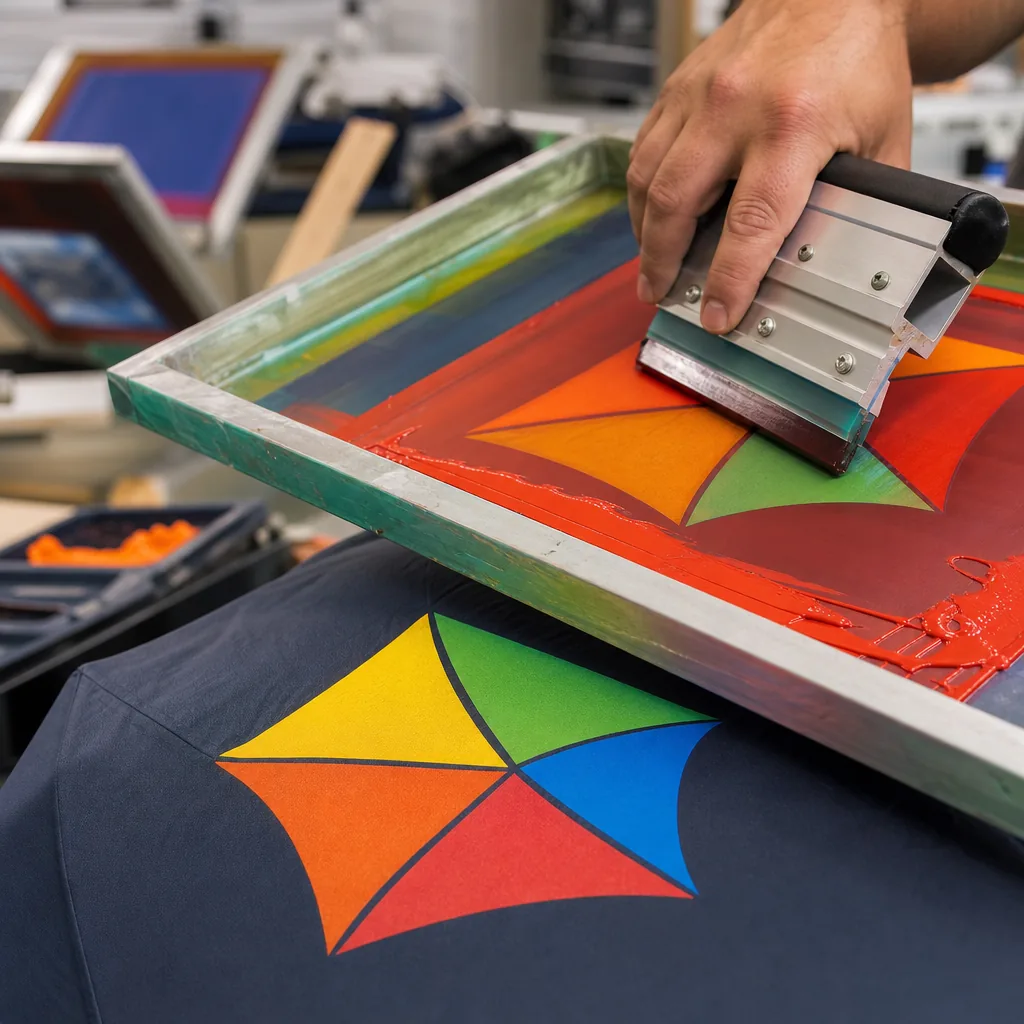
On a real production floor, print placement changes the moment artwork crosses a seam, because each panel is cut from a flat marker and then pulled into a curved cone under tension. In umbrella canopy panel engineering, that means a logo that looks centered on screen can drift a few millimeters once the panel is sewn, the welt is added, and the canopy is stretched on the frame. Buyers who ignore this usually get ugly seam hits, broken text, or a logo that reads differently from panel to panel. With pongee 190T, the fabric is stable enough for decent print work, but the tolerance still depends on panel width, panel darts, and how much canopy seam tension the frame applies when opened.
Panel-to-panel matching matters because the human eye catches misalignment faster than it catches color drift. If adjacent panels carry stripes, gradients, or repeating patterns, the seam line becomes the reference point, so a 2 mm registration error can turn into a visible offset across the full canopy. OEM canopy specs should state whether the printer is matching to cut lines, seam lines, or finished-open dimensions, because those are not the same thing. On the shop floor, we always check whether the artwork is supposed to run continuously over the seam or stop short of it, since that changes the allowance for panel darts and stitch take-up.
Buyers should ask for artwork proofs that show the flat panel template, the seam allowance, and the finished-open canopy view side by side. The proof should also mark the panel centerline, logo safe area, and any seam crossings, not just send a pretty mockup. For umbrella canopy panel engineering, that is the only way to control print registration before sampling starts. A proper proof package should also confirm color break positions, number of panels, and whether the printer will pre-distort the file to compensate for curvature; otherwise the first sample often exposes mismatched seams and wasted time on revisions.
QC checks for tension, puckering, and edge curl
For umbrella canopy panel engineering, the first QC gate is fit on the frame, not print quality. We check each panel against the runner-to-tip span, then close the unit under full tension to see whether the canopy lands evenly on every rib without starved corners or overpulled seams. On pongee 190T, a good panel should stretch flat with only a light, controlled give; if the cloth bridges between ribs, snaps back with a diagonal wrinkle, or shows a bias twist at the hem, it is out. OEM canopy specs should define the exact panel width, seam allowance, and apex placement, because a half-centimeter error shows up later as tip offset or a lopsided crown.
Canopy seam tension is the next hard check. We inspect seam lines under backlight for puckering, skipped stitches, broken thread tails, and seam grin at the needle holes, then compare adjacent panels for matched tension so one side does not pull harder than the other. Panel darts are only acceptable if they are symmetrical, fully sewn out, and hidden in the intended load path; a dart that opens at the apex or creates a ridge along the seam is a fail. We also reject panels with edge curl at the hem, since that usually means heat setting was too aggressive, the grain was cut off-square, or the thread tension was inconsistent during sewing.
Final inspection is about symmetry and abuse points. We open and close the umbrella several times, then measure tip-to-edge symmetry, canopy roundness, and whether each rib end sits at the same depth relative to the hem. Fail any sample with one panel riding high, a scalloped edge that changes pitch from panel to panel, localized wrinkling near the seam intersection, or visible puckering around the top cap. In practice, the cleanest umbrella canopy panel engineering comes from tight cut control, stable sewing tension, and a reject rule that does not excuse cosmetic defects as long as they will turn into wind noise, leakage, or premature seam failure in use.
Frequently Asked Questions
Does a tighter seam always mean a better canopy?
Not always. Too much stitch tension can pucker the fabric and distort panel shape, which hurts both appearance and water shedding. The goal is balanced tension with consistent seam allowance.
When should a buyer choose 210T pongee over 190T?
Choose 210T when the umbrella needs a fuller hand feel, better edge stability, or a more premium retail impression. 190T is often sufficient for cost-sensitive promotional orders.
What seam allowance is typically used for a 190T pongee umbrella canopy?
Most factories use a seam allowance in the 8-10 mm range for 190T pongee, depending on frame size and stitch type. Narrower allowances can reduce bulk, but they also make seam slippage and leakage more likely if tension is not controlled.
How do panel darts affect logo printing across multiple canopy panels?
Darts change the fabric geometry, so artwork placed too close to the dart line can distort once the canopy is tensioned on the frame. For OEM orders, buyers should request a print-safe area map by panel and keep critical logos at least 10-15 mm away from darted zones.
What production checkpoints help reduce seam puckering before bulk shipment?
A practical QC sequence is cut-panel inspection, first-piece sewing approval, in-line stitch tension checks every 200-300 units, and open-canopy visual inspection before packing. Buyers commonly ask for an AQL inspection with specific checks for puckering, skipped stitches, and uneven panel tension.
Looking to Launch Your Custom Umbrella Line?
ZheBrella is a Zhejiang-based OEM/ODM umbrella manufacturer with 17 years of export experience. Free design, low MOQ from 100 pieces, windproof construction, full-color print.
Get Free Quote Now »People Also Search For
Related Articles
Umbrella Canopy Seam Sealing Methods for Leak Control
Compare stitched, taped, and welded canopy seams and how each affects leak resistance, hand feel, and production cost fo...
Read More »How Umbrella Canopy Panel Tension Is Measured in Production
See how manufacturers measure canopy tension, seam alignment, and panel fit to cut slack, wrinkling, and leakage risk in...
Read More »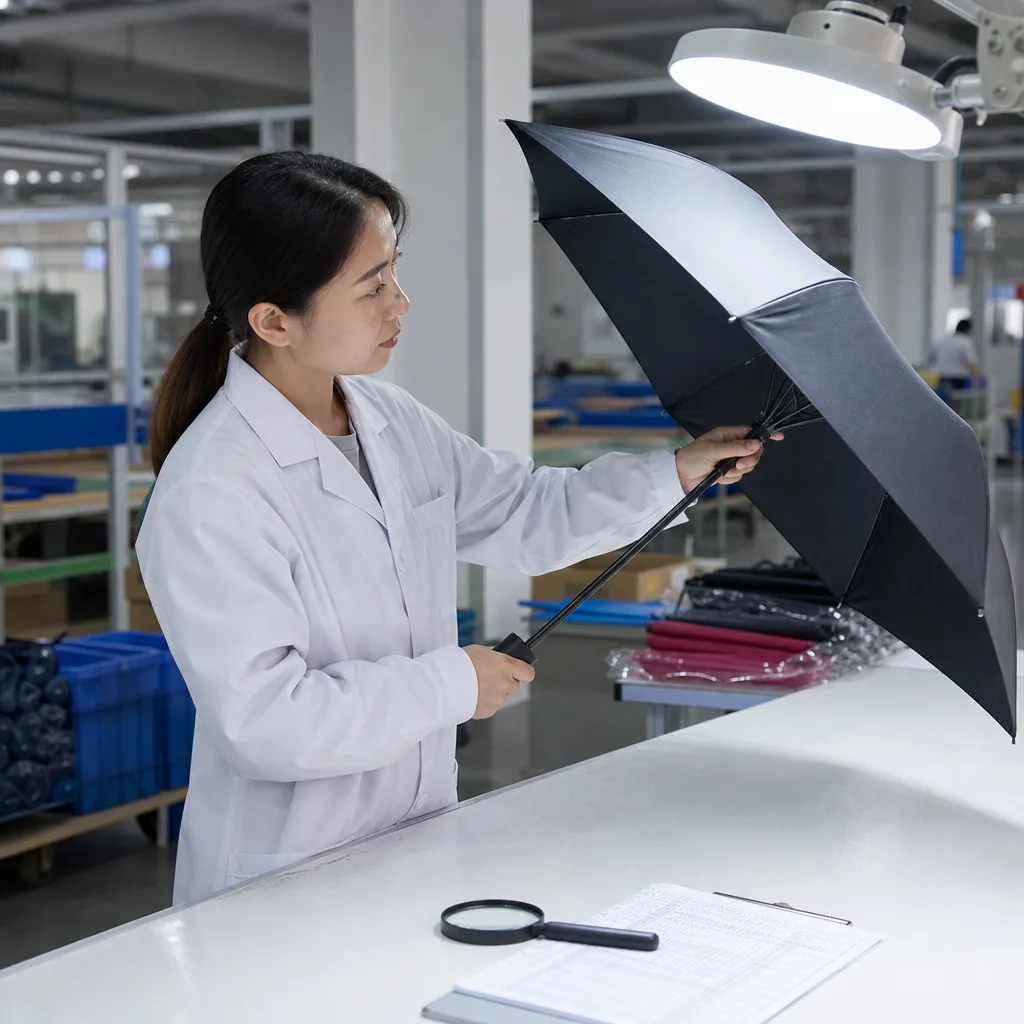
Umbrella Fabric Cutting Tolerances for Bulk Production
See how die cutting, panel templates, and seam allowance controls keep 190T/210T pongee canopies consistent and reduce l...
Read More »