Full-Canopy Edge-to-Edge Umbrella Printing: What's Actually Possible
Buyers often ask for full canopy umbrella printing that looks continuous from tip to hem, but the real challenge is how artwork behaves across stitched panels, seams, and curved edges. On the factory floor, every umbrella is printed and assembled panel by panel, so registration tolerance, panel count, fabric stretch, and seam placement all affect what is actually achievable. If the file is not prepped with those limits in mind, the design may shift, break at the seams, or lose detail where the canopy closes.
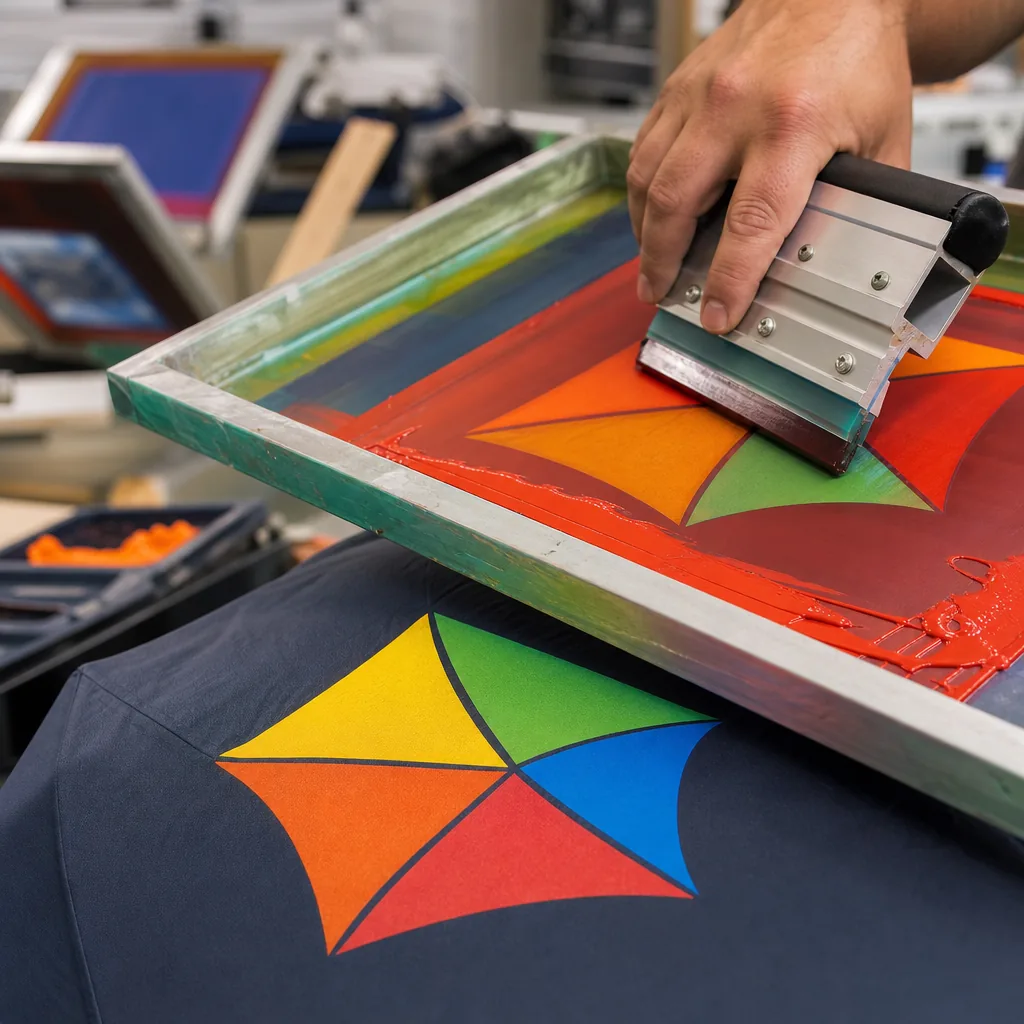
Panel-by-panel printing reality
Most people imagine full canopy umbrella printing as one uninterrupted image wrapped around a finished umbrella. That is not how it is made. The canopy is cut into flat panels first, and those panels are printed before sewing, because you need a stable surface for registration, color control, and curing. In practice, an edge to edge umbrella print means the artwork runs to the usable edge of each panel, with seam allowance hidden in the construction. If a buyer sends a custom umbrella design with thin borders, small text, or a skyline that must line up perfectly across seams, I tell them to expect some movement. Fabric stretches, stitching consumes width, and the panel shape changes once it is tensioned over the frame. Full canopy umbrella printing is real, but it is panel-based reality, not a single wrapped sleeve.
What you can print depends on the panel count and the construction. A 8K or 10K umbrella gives you fewer, wider panels and fewer seam breaks, which usually makes an all over print umbrella look cleaner. A 16K canopy has more seams, so the artwork must be planned around more interruptions. On a 23-inch or 27-inch canopy, a bold logo, repeated pattern, or large photographic block works well; a hairline grid or tiny type across multiple seams does not. The best results come from building the artwork in panel units, not trying to force one continuous image across the entire dome. We always check rib spacing, seam width, and whether the canopy is vented, because a double-canopy vent changes the usable print area and the visual breakpoints.
There is also a difference between what looks good flat and what looks good when the umbrella is open. Dye sublimation on pongee 190T or 210T can produce a strong edge to edge umbrella print, but the image must tolerate curvature, tension, and the small distortion that happens near the tips and crown. If the design uses gradients or full-bleed photography, I usually recommend a test strike first, because the top pole area and the lower hem never read exactly the same once assembled. For PVC, POE, or EVA canopies, the print method and ink adhesion change again, so a full canopy umbrella printing spec should always name the fabric, panel count, seam allowance, and whether the artwork must match across opposite panels. That is the difference between a usable production file and a drawing that only works on screen.
Sublimation for all-over photographic designs
Dye-sublimation is the cleanest route for full canopy umbrella printing when the design is photographic, gradient-heavy, or packed with small color shifts. On polyester canopy cloth, the ink turns into a gas under heat and bonds into the fiber, so you are not laying a thick film on top of the fabric. That matters because an edge to edge umbrella print has to survive repeated opening, flexing at the ribs, and friction at the seams without cracking the way some surface prints do. In practice, the method works best on white or very light pongee polyester, usually 190T or 210T, because the base cloth stays bright and the printed color reads correctly across the panel layout.
The main constraint is not color count, it is pattern engineering. A real all over print umbrella has to be built around the panel geometry, the seam allowance, and where the stretch changes near the tips and the runner, otherwise faces, logos, and horizon lines will drift when the canopy is opened. Our standard practice is to print before cutting or use panel-matched sublimation so the custom umbrella design lands cleanly from one wedge to the next. You can run unlimited colors, soft shadows, and continuous gradients inside each panel, but the artwork still needs bleed, mirror margins, and a proper repeat map. For buyers who want a full photographic effect, sublimation is usually the only method that gives that result without turning the canopy stiff or muddy.
For production, the process is straightforward but unforgiving on setup. A consistent heat curve and pressure profile are more important than chasing a hotter press, because polyester will distort if the transfer is not controlled. That is why proofing matters: a small shift in panel registration becomes obvious once the umbrella is assembled, especially on a dome-shaped canopy where the image wraps over a curved surface. When the artwork is prepared correctly, full canopy umbrella printing can deliver retail-grade photo realism with sharp text, clean skin tones, and no visible color banding.
Seam registration and design limits
The main limit in full canopy umbrella printing is not color or resolution, it is seam registration. An umbrella canopy is built from separate gores that are cut, sewn, and tensioned into a dome, so any artwork that crosses a seam has to survive three different distortions: flat pattern cutting, sewing shrinkage, and stretch when the canopy is opened under load. On a typical 8K or 10K frame, each panel narrows toward the top, and the seam line itself eats a few millimeters of visible area. That is why an edge to edge umbrella print can look perfect in the file and still show a shifted logo or broken line on the finished product. For a custom umbrella design, the safe rule is to treat every seam as a hard boundary unless the art is built with panel-by-panel control from the start.
If you want an all over print umbrella with artwork crossing seams, design for tolerance instead of perfection. Keep critical elements like faces, text, QR codes, and thin stripes away from stitch lines, especially near the crown where the panel geometry compresses the most. Use generous bleed, but do not assume extra bleed solves alignment; it only prevents white slivers after trimming. The better approach is to build separate repeats for each gore, with alignment marks, seam allowances, and a deliberate visual break at every join. On sublimation or heat-transfer work, fabric stretch is manageable, but on coated pongee 190T or 210T the coating and heat can change panel behavior enough to move the image a few millimeters. That is normal production, not a defect.
The practical limit for full canopy umbrella printing is the tolerance you can accept in the seam, not the printer’s resolution. At sample stage, we usually check the open canopy against the sewing pattern, then approve a small misregistration band if the design can hide it in gradients, texture, or dense backgrounds. Solid geometric lines and reversed type are the hardest case because the eye catches even a 2 to 3 mm shift immediately. If the project needs a clean edge to edge umbrella print, use wider blocks, asymmetric art, or panel-based graphics that make the seam part of the composition. ZheBrella’s standard practice is to approve seam-sensitive artwork with a physical pre-production sample, because on a real canopy, paper proofs do not show how the ribs, tension points, and stitches will move the image when the umbrella is opened and closed.
Bleed, safe zones, and file prep
For full canopy umbrella printing, start with the right file type, not the prettiest mockup. Vector artwork is the safest choice for logos, type, flat graphics, and repeating shapes because it stays sharp when the panel is scaled and curved. Use AI, EPS, PDF, or SVG for vector, and only place raster images when the design really needs photography or texture. For raster, build the file at final print size, 300 dpi for text and detailed logos, and no lower than 150 to 200 dpi for large photographic fills. A lot of bad umbrella art comes from people sending a 72 dpi web image and expecting an edge to edge umbrella print to survive inspection. It will not. Color should be set up in the intended print space, usually CMYK for sublimation or transfer, and any spot colors should be clearly called out if you want a tighter brand match.
Panel templates matter more than people expect because an all over print umbrella is not a flat poster. Each panel is a narrow, tapered shape, and the artwork has to respect the seam allowance, the apex, and the curved outer hem. I tell buyers to work from the actual panel template for the exact 8K, 10K, or 16K frame, because the geometry changes with size and canopy style. Keep critical text, logos, faces, and thin rules away from the stitch lines, usually at least 8 to 12 mm inside the seam area, so nothing lands where fabric gets folded and sewn. If the umbrella has a vented double canopy, you also need to separate the artwork for the top and bottom layers instead of assuming one continuous wrap will align cleanly.
For custom umbrella design, the practical workflow is to place the background as a continuous wrap across all panels, then lock the brand marks into safe areas that do not cross panel breaks unless the client accepts small alignment drift. Full-bleed art can look strong, but the repeat has to be built with the seam positions in mind, otherwise the finished product shows a broken stripe or a shifted logo at every rib. Our standard practice is to approve a flat layout, a panel-by-panel proof, and a production mockup before cutting any fabric. That is especially important on 21-inch and 23-inch compact umbrellas, where the usable panel area is small and every millimeter counts. If the file is prepared correctly, full canopy umbrella printing is straightforward; if it is not, the print shop ends up guessing, and the canopy pays for it.
Cost vs coverage: spot logo to full wrap
A single spot logo is the cheapest place to start because you are only paying for one print position, one screen or one transfer setup, and minimal color matching. On a standard 23" or 27" umbrella, that usually means one panel or one segment of the case gets branded, while the rest of the canopy stays plain. For buyers who only need event visibility or internal giveaways, that is the practical route. Once you move to full canopy umbrella printing, the cost jumps because every panel has to be printed, registered, and checked for seam alignment. On pongee 190T or 210T, the factory has to account for panel waste, color migration, and the extra labor of matching graphics across the ribs. The difference is not subtle: spot logo work is basically decoration, while an all over print umbrella is a production task that touches cutting, printing, sewing, and final inspection.
An edge to edge umbrella print usually needs sublimation or heat-transfer work on the panels before the canopy is sewn, which is why it costs more than a simple logo. You are buying more ink coverage, more print time, and more spoilage risk if the artwork is not built for the umbrella pattern. A custom umbrella design with large gradients, photo images, or wraparound artwork will also need tighter file prep, because each panel shrinks slightly at the seams and the center point changes when the umbrella opens. In practice, the price gap comes from coverage, not just ink. A one-color mark might add only a small incremental cost per piece, while full sublimated canopy decoration can add a meaningful percentage to the unit price, especially at lower MOQs where setup is spread across fewer umbrellas.
The right way to compare pricing is by use case, not by decoration style alone. If the buyer needs a trade-show giveaway, a spot logo on a manual-open 21" umbrella may be enough and keeps the FOB target tight. If the goal is retail presentation or brand storytelling, full canopy umbrella printing on a double-canopy vented windproof model is the better spend because the artwork is visible from every angle and the umbrella reads like a branded product, not a promo item. Our standard practice is to quote separately for frame, canopy material, and decoration so the buyer can see exactly where the money goes. That also helps when comparing FOB and DDP: printing adds cost, but full coverage usually makes more sense on higher-value umbrellas where the retail margin can absorb it and the visual impact is the point.
Frequently Asked Questions
Can an umbrella be printed edge to edge with no white gaps?
Within each panel, yes - dye-sublimation covers a panel fully. Across panels, designs are limited by seam registration, so true seamless wraparound imagery is constrained. We provide panel templates so artwork lands correctly.
Which printing method allows full-color photo designs?
Dye-sublimation on polyester. It bonds full-color, photographic artwork into the fibers panel by panel with no feel on the surface, unlike screen printing which suits a few solid spot colors.
How much seam tolerance should I expect on a full-canopy umbrella print?
Most factory production allows about 3-5 mm of registration tolerance at each seam, since the canopy is assembled panel by panel. For designs with fine lines or repeated patterns, keep critical text and logos away from seam edges.
What artwork setup works best for edge-to-edge umbrella printing?
Use a panel-based layout with separate artwork for each canopy section, plus bleed and seam marks. Vector files are best for logos and text, while high-resolution raster art should be prepared at 300 dpi at final print size.
What are typical MOQ and lead times for full canopy printed umbrellas?
For OEM/ODM runs, MOQ is often 300-500 pieces per design, depending on frame type and print method. Sample lead time is usually 7-10 days, and bulk production commonly takes 20-30 days after artwork approval.
Looking to Launch Your Custom Umbrella Line?
ZheBrella is a Zhejiang-based OEM/ODM umbrella manufacturer with 17 years of export experience. Free design, low MOQ from 100 pieces, windproof construction, full-color print.
Get Free Quote Now »People Also Search For
Related Articles
Repeat Pattern Printing on Umbrellas for Brand Campaigns
Build repeat-pattern umbrellas with practical advice on artwork repeats, panel breaks, fabric selection, print methods, ...
Read More »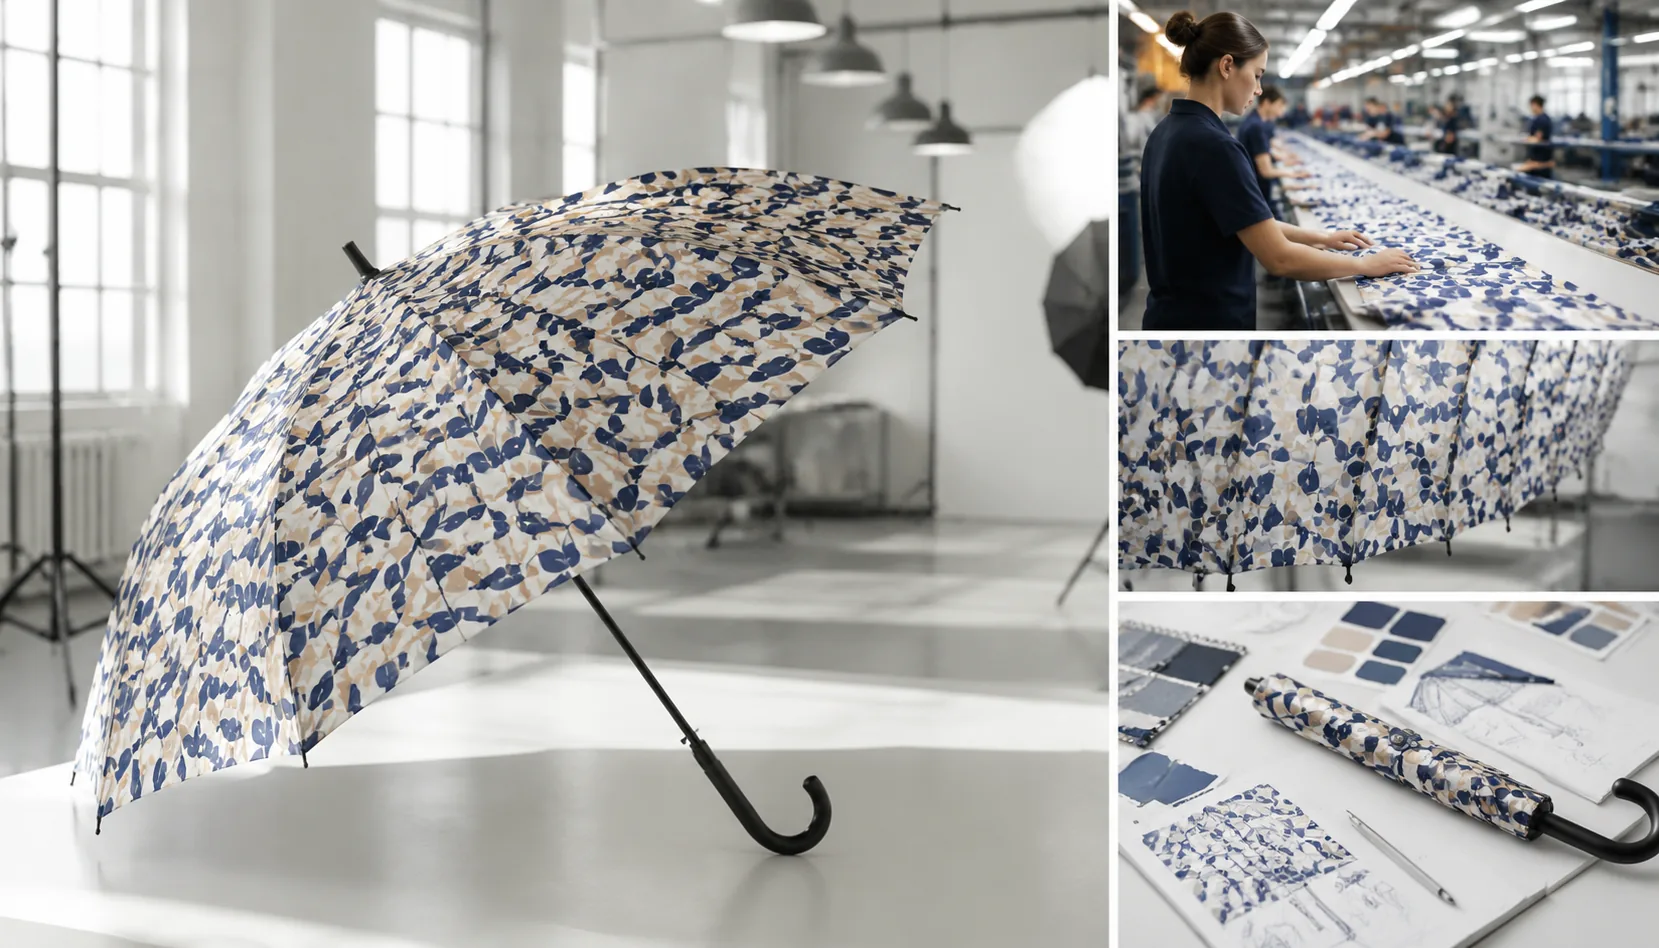
Repeat Pattern Umbrella Printing for Branded Collections
Plan repeat logo, monogram, or pattern umbrellas with clear rules for panel layout, fabric choice, sampling, MOQ, and pr...
Read More »
All-Over Repeat Patterns for Private-Label Umbrellas
Build private-label umbrella patterns that repeat cleanly across panels with the right fabric, rib count, artwork scale,...
Read More »