Artwork Setup Rules for Clean Umbrella Branding Results

Artwork setup for umbrellas fails most often at the seam between design intent and production reality: a logo that looks centered on screen can drift across curved panels, lose detail in a hem, or clip during sewing and heat transfer. At ZheBrella in Songxia, Shangyu, we review every file against panel layout, bleed, safe zones, and shop-floor tolerances so buyers can approve artwork with fewer revisions and fewer surprises on the line.
Why umbrella artwork is harder than flat-product artwork
Umbrella artwork setup is harder than flat-product artwork because the print surface is not one continuous plane. A canopy is divided into panels, usually 6K, 8K, or 10K depending on the frame, and every panel bends between ribs as the umbrella opens. That means a logo that looks perfectly centered in a PDF can still shift visually once it sits on a curved piece of 190T or 210T pongee. On a poster or tote bag, the image stays where you put it; on an umbrella, the ribs and stitching create real mechanical boundaries that the art has to respect.
The first failure point is the seam. If a wordmark crosses a seam without a proper panel alignment guide, the letters can split unevenly, and the viewer reads it as a production error even when the file was technically “in spec.” The second failure point is edge placement: if the art is pushed too close to the hem, a small registration drift can clip the mark, especially on auto-open or auto-open-close models where panel tension is different from a manual frame. That is why logo bleed for umbrellas has to be defined around the actual cut shape, not guessed from the flat artwork box.
In practice, branded umbrella artwork needs a tighter print tolerance spec than most buyers expect. A 2–3 mm shift can change whether a logo clears a rib line or lands on a seam, and that difference shows immediately on high-contrast graphics. With sublimation, screen print, or heat-transfer jobs, the usable area is defined by the canopy geometry, not the nominal panel size, so a file that is clean for a bag or banner may still fail on an umbrella unless the artwork is mapped to the rib layout. For that reason, we treat branded umbrella artwork as a layout problem first and a printing problem second.
Setting safe zones, bleed, and panel boundaries
For umbrella artwork setup, the first mistake buyers make is treating the canopy like a flat poster. An 8K frame has wider individual panels and fewer seam interruptions, while a 16K frame breaks the graphic into narrower slices that expose any weak alignment immediately. The safe zone should stay clear of seams, tips, runner hardware, and the hem fold; in practice I keep critical text and faces at least 8–12 mm inside the panel edge, then add a separate logo bleed for umbrellas only where the print method and fabric stretch justify it. A proper panel alignment guide is not optional: each panel needs the artwork mirrored to the actual cut shape, not a generic rectangle, or the pattern drifts when the canopy is stitched and tensioned.
For branded umbrella artwork, standard single-canopy models can usually tolerate a simpler layout because the print only has to survive one fabric skin and one set of ribs. Double-canopy windproof umbrellas are less forgiving: the outer canopy may rotate slightly against the inner vent layer, so the design should avoid seam-to-seam continuity, ultra-thin registration lines, and any graphic that depends on perfect radial symmetry. On these models, I recommend splitting the design into panel-specific zones with breathing room around the vent opening and reinforcing the print tolerance spec with a wider margin on the lower edge, where panel pull is highest during opening and wind load.
The cleanest production files are built from the actual panel template, then checked against the sewn sample under tension, not just on screen. If the art crosses multiple panels, each seam break should land in a visually quiet area like background color or negative space, because even a 1–2 mm shift becomes obvious once the canopy is opened. For metallic inks, fine type, or photo gradients, I would reduce ambition and simplify the composition before approving release; that is usually cheaper than reprinting. In short, the artwork should follow the umbrella structure first and the brand graphic second, otherwise the finished canopy looks misregistered even when the factory stayed within spec.
Preparing files for print and decoration methods
For screen print, heat transfer, digital print, and woven branding, the cleanest umbrella artwork setup starts with vector files: AI, EPS, or editable PDF with fonts outlined and all linked images embedded. That matters because umbrella panels are narrow, curved, and often repeated across multiple ribs, so a file that looks fine on a flat screen can still fail once it is mapped to a 8K, 10K, or 16K panel layout. Raster files can work for simple digital print, but if the artwork has fine lines, tight registration, or exact color blocking, vector is usually safer because it scales without jagged edges and gives us cleaner separations for production. In practice, I always want a branded umbrella artwork file that clearly shows Pantone or CMYK values, stroke thickness, and any knocked-out elements before we make film, screens, or transfer sheets.
Small text is where most jobs get into trouble. Anything under about 6 pt can close up after printing on pongee 190T or 210T, especially on darker canopy colors, and woven branding is even less forgiving because thread count limits detail. A good panel alignment guide should show the exact centerline of each panel, seam allowance, and placement relative to the rib arc, otherwise a logo can look straight in the file and crooked on the finished canopy. We also need a logo bleed for umbrellas, usually outside the visible trim line, because fabric tension, cutting drift, and sewing shrinkage all move the image a few millimeters. For most decorated umbrellas, the usable print tolerance spec is tighter than buyers expect, so artwork should avoid hairline rules, tiny reverse text, and gradients that depend on perfect edge control.
Each decoration method has its own file behavior. Screen print prefers spot-color vector art with separate layers for each ink; digital print can accept high-resolution raster, but 300 dpi at final size is the minimum I trust for detailed logos; heat transfer needs crisp separation edges and a clean white underbase plan if the canopy is dark; woven branding should be simplified to bold shapes and larger letterforms because thread distortion will eat fine serif details. If the artwork includes more than one panel or a repeated motif around the canopy, the repeat should be checked against the fold direction and seam position before approval. The point is simple: send artwork as if the print shop has to build it into tooling, not just place it on a mockup, and the result will match the umbrella instead of fighting it.
Checking fit on the real umbrella frame
The fastest way to ruin umbrella artwork setup is to approve a flat mockup and ignore the real frame geometry. A logo that looks centered on a 2D template can drift once it lands on a 8K or 10K panel layout, especially if the canopy has a deep crown or the ribs pull the fabric tighter on one side. I always want a mockup on the actual frame, physical or calibrated digital, with the center point marked against the shaft so the artwork is placed to the true apex, not just the panel drawing.
The panel alignment guide matters because each panel is cut, sewn, and tensioned separately, and the seam lines are not a cosmetic detail. The handle-to-panel relationship also needs checking, because a mark that sits perfectly on one panel may be visually off once the umbrella is opened and the handle lands under a different rib spacing. For branded umbrella artwork, the practical check is whether the logo still reads straight from the user’s viewing angle after the canopy is fully tensioned, not whether it looks centered on a template PDF.
Auto-open and auto-open-close mechanisms reduce usable print area more than most buyers expect, because the runner, stretcher, and shaft fittings create dead zones near the center and along the lower panel edge. On compact 21" and 23" travel frames, that hardware can force a logo to move outward, and the same artwork may need a wider safe zone on a 27" or 30" stick umbrella. The print tolerance spec should state where ink can land, how much shift is acceptable, and how much logo bleed for umbrellas is needed so the design survives sewing drift, panel stretch, and frame variation without clipping critical text or symbols.
Sign-off controls for fast production
Fast approvals start with a tight umbrella artwork setup package, not a loose PDF and a few comments in email. The pack should include an annotated mockup for each panel, a panel alignment guide, and a print tolerance spec that states exact placement limits in millimeters. For branded umbrella artwork, I also want Pantone callouts tied to the actual canopy fabric, because a color that looks fine on screen can shift badly on 190T pongee or PVC. If the design uses multiple panels, mark the seam direction, panel order, and logo bleed for umbrellas so the printer knows where artwork can safely extend without getting clipped at stitching or edge wrap.
The fastest way to cut revisions is to force decisions on measurable details before cutting starts. Our standard practice is to lock the artwork against a signed mockup that shows logo size, center point, edge distance, and color target, then compare it to a physical strike-off or pre-production sample when the order is sensitive. MOQ matters here: once the minimum is committed, any late change can trigger fresh screens, new transfer files, or a corrected sample, which usually adds several days to lead time. If the buyer needs a sample first, set that timing up front, because a clean umbrella artwork setup with approved references usually shortens the back-and-forth more than any verbal explanation.
Once production starts, the approval pack becomes the inspection baseline, not a suggestion. AQL 2.5 checks should confirm print position, color match, seam interference, and panel-to-panel consistency against the signed reference, especially on auto-open or windproof models where canopy tension can shift the artwork slightly after assembly. If the tolerance window is loose, inspectors will catch more disputes than defects, so the better move is to define what is acceptable before sewing and printing begin. That is how you keep revisions down, protect schedule, and avoid the common problem where the buyer approves the concept but rejects the finished run for a detail that was never measured in the first place.
Frequently Asked Questions
What is the most common artwork mistake on branded umbrellas?
The most common mistake is placing key elements too close to a seam or panel edge, which makes the logo look distorted after stitching and assembly. A second common issue is using text that is too small to remain legible after printing.
Should umbrella artwork be based on a flat template or the finished frame?
Use both, but approve against the finished frame whenever possible. A flat template helps with layout, while the actual frame shows how seams, ribs, and canopy tension will affect the final result.
What artwork file formats should buyers provide for custom umbrella production?
Vector files such as AI, EPS, or PDF are preferred because they scale cleanly across umbrella panels. If raster artwork is required, provide at least 300 dpi at actual print size, with Pantone color references for accurate production matching.
How much print tolerance should be allowed for umbrella panel alignment?
Most umbrella factories recommend allowing a 3–5 mm tolerance for panel printing and seam alignment due to cutting, stitching, and canopy tension. Logos or critical text should stay inside the safe zone and away from ribs, seams, and panel edges.
Can one logo layout be used for all umbrella types?
Not always. Straight umbrellas, folding umbrellas, golf umbrellas, and vented canopies have different panel shapes and printable areas, so buyers should request the correct die-line or panel template before finalizing artwork.
Looking to Launch Your Custom Umbrella Line?
ZheBrella is a Zhejiang-based OEM/ODM umbrella manufacturer with 17 years of export experience. Free design, low MOQ from 100 pieces, windproof construction, full-color print.
Get Free Quote Now »People Also Search For
Related Articles
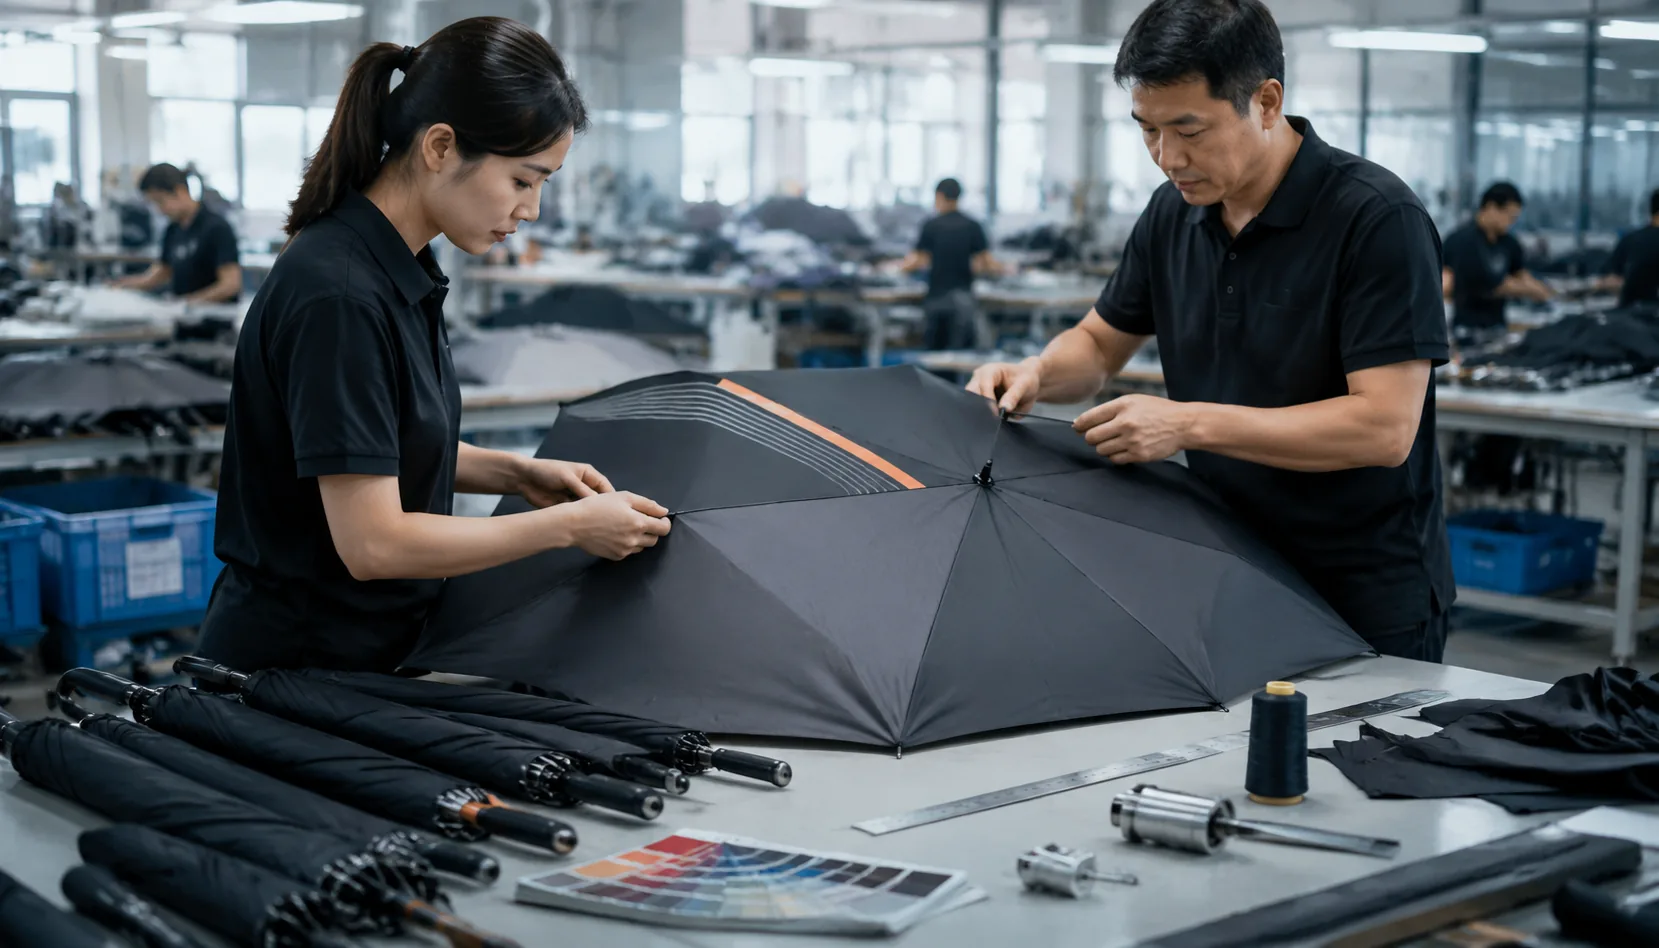
Umbrella Print Registration Tolerance for Clean Branding Results
Set practical print registration tolerances for umbrellas, including panel alignment, bleed, and QC checkpoints that hel...
Read More »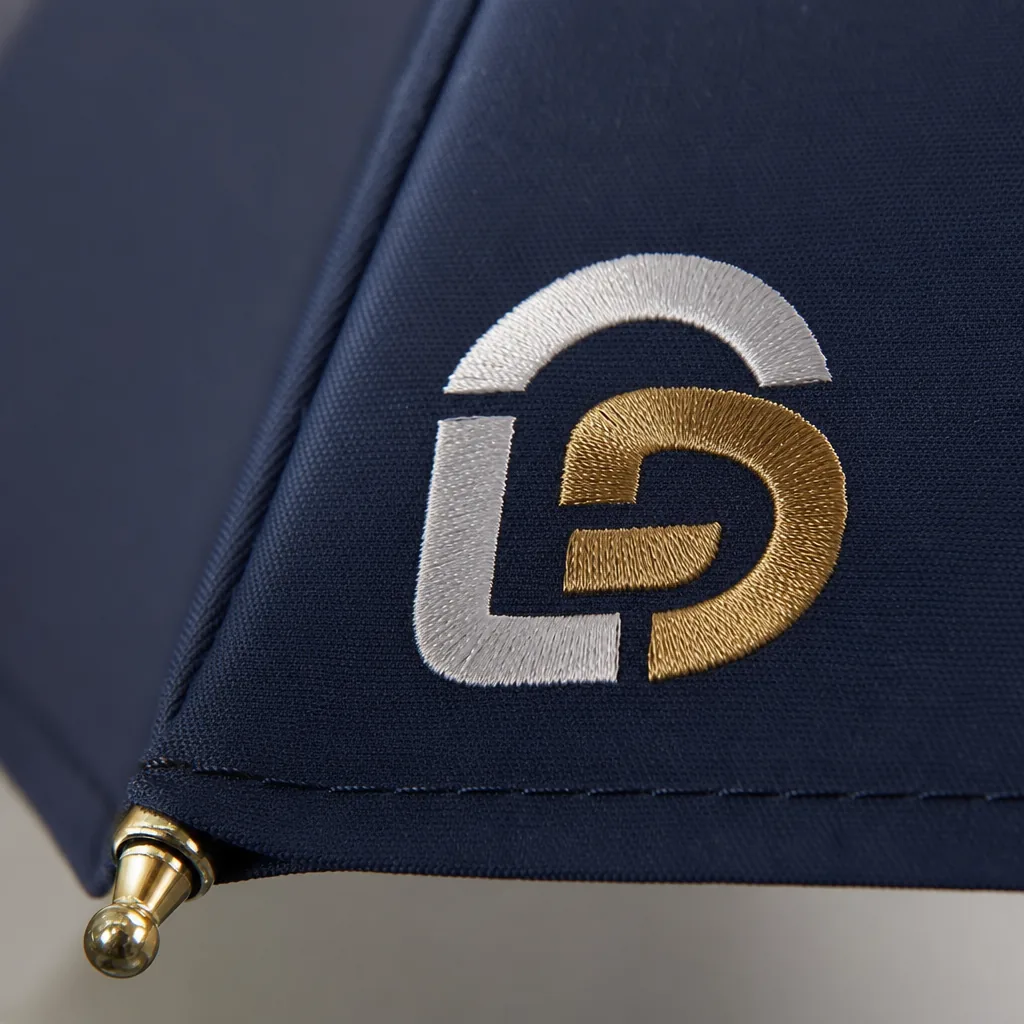
Refined Logo Placement Specs for Branded Umbrella Canopies
Plan logo placement on umbrellas with clear specs for panel size, safe zones, seam breaks, and repeat-order consistency ...
Read More »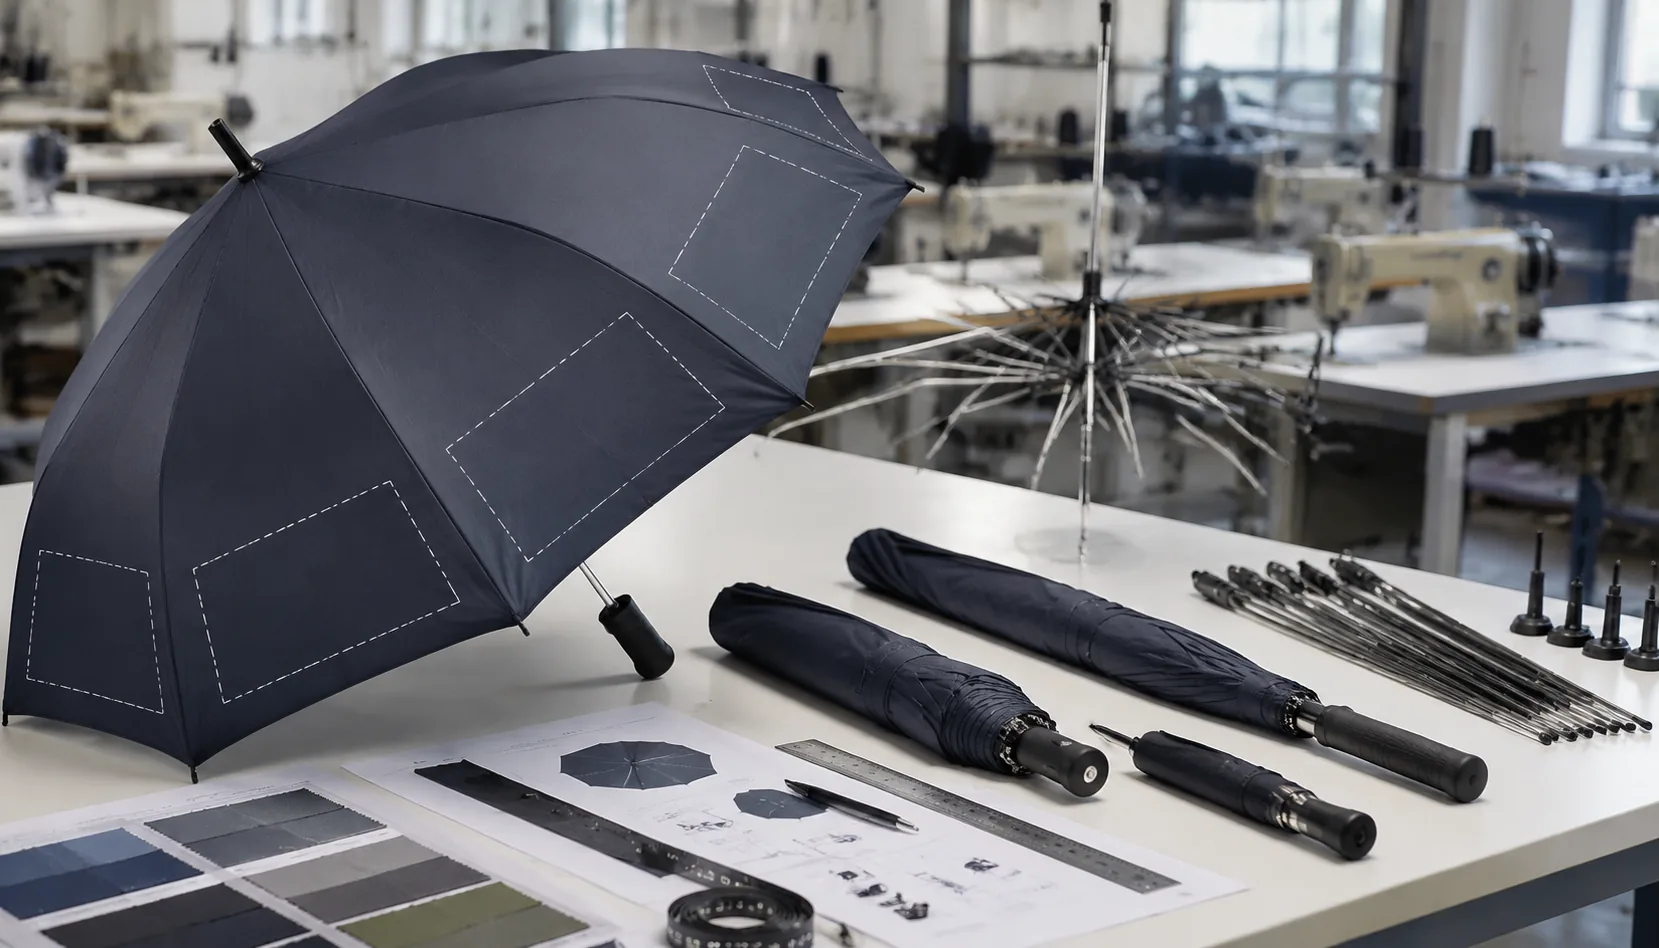
Logo Placement Rules for Folding Umbrella Branding
Set logo size, placement, and panel alignment rules for folding umbrellas so artwork stays visible on compact canopies a...
Read More »