Refined Logo Placement Specs for Branded Umbrella Canopies
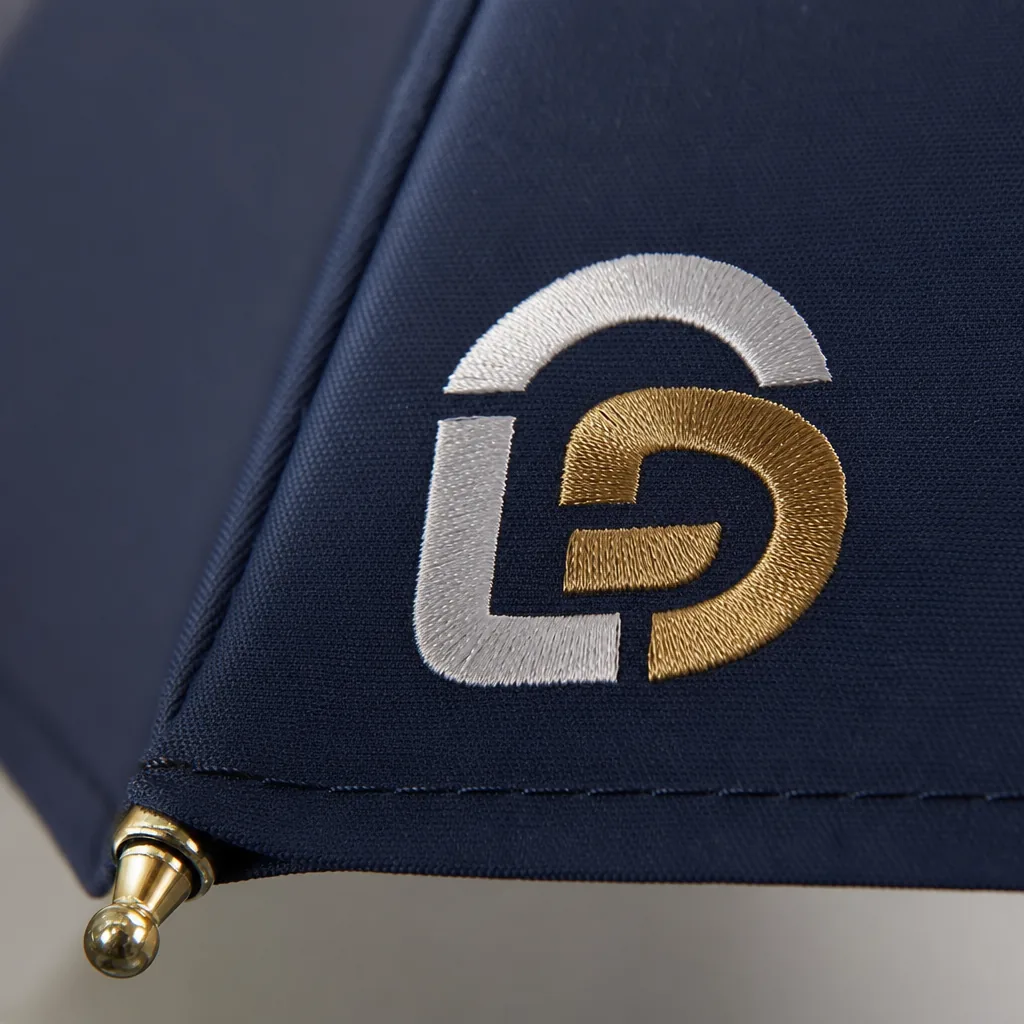
Choosing logo placement on an umbrella canopy is less about decoration than about print survival, panel geometry, and how the cover opens on the line. A practical umbrella logo placement guide has to account for panel size, seam breaks, safe zones, and the repeatability buyers need when reordering across different frames and canopy constructions. From the factory floor, the real challenge is keeping a logo centered, legible, and consistent after sewing, tension, and final opening change the artwork’s shape.
Set the logo size by umbrella size and panel geometry
A 23-inch umbrella has the tightest printable panel, so treat it as a compact-format decoration job. In practical canopy print specs, a one-color logo usually works best at 70-110 mm wide, while a multi-color mark is safer at 60-90 mm if you need sharp text and clean edge registration. On a 27-inch canopy, the usable width expands enough to support 100-140 mm for one-color artwork and 80-120 mm for multi-color designs. Always measure the flat panel, then subtract seam allowance and the hem fold before you approve branded umbrella artwork; the curved canopy will look wider in mockup than it prints after stitching and tensioning. For custom umbrella branding, that difference matters more than the nominal umbrella size, because the final visible area is defined by the panel, not the open diameter.
Panel count changes the result as much as diameter. An 8K frame has fewer, wider panels, so panel logo alignment is easier and the printable zone is broader; the same logo can usually be set larger without hitting rib lines or seam distortion. A 16K frame splits the canopy into narrower panels, which reduces usable width and often forces the logo to be shorter, narrower, or placed higher to keep clear of the seams. Golf umbrellas give the most room and are the best fit for a wider sponsor line or stacked wordmark: one-color graphics commonly land at 120-180 mm wide, and multi-color logos at 100-150 mm, depending on stroke weight and text size. Keep 10-15 mm clear of stitch lines and edges, and approve the flattened panel, seam allowance, and final stretch together. That is the practical umbrella logo placement guide: size the artwork to the panel geometry first, then confirm that the print survives assembly without losing legibility.
Define safe zones around seams, vents, and the crown
The practical umbrella logo placement guide starts with clearance, not artwork size. On a 21" or 23" promotional canopy made from 190T pongee, keep critical text, thin rules, and small icons 12-15 mm away from panel stitching; 20 mm is the safer minimum on coated fabric, because sewing tension can pull a print off register during assembly. Hold 25-30 mm clear from the hem too, since the edge curve distorts circles, borders, and type once the panel is cut, sewn, and tensioned. For branded umbrella artwork, the printable field is always smaller than the flat dieline, and that reduction matters most on narrow gores where panel logo alignment can shift after stitching.
The crown and top pole area need their own exclusion zone. Around the runner hole, apex reinforcement, and top ferrule area, leave a 35-45 mm no-print radius, adjusted to frame build and canopy size. That zone moves under load, so canopy print specs should treat it as dead space even when the panel looks open in CAD. On 8K and 16K domes, the visible centerline is not the same as the flat centerline, so artwork must be mapped to the finished canopy arc, not just the pattern file. If the logo crosses too close to the crown, the opening umbrella will show uneven spacing and a warped mark.
Double-canopy windproof models reduce the usable print field further. The vent opening creates a hard break between the upper and lower layers, so artwork cannot run across the vent seam without looking split. On these umbrellas, place the logo fully below the vent on the outer canopy, or break the layout into separate elements with at least 15 mm of visual spacing from the vent edge. For 27" and 30" models, verify the final print map after frame sample assembly, because the tensioned vent changes the safe zone by a few millimeters. That preproduction check lowers rejection risk and keeps custom umbrella branding consistent from approval sample to bulk production.
Match placement to canopy fabric and print method
Panel placement should follow the canopy geometry, not the artwork file. On 8K and 10K frames, the printable field is tight, so the safest umbrella logo placement guide is to keep the mark in the upper-middle of each panel and away from the seam allowance by at least the factory’s stated margin. On 16K canopies, the panel is wider, but more seams mean more risk of a logo crossing a stitch line and losing registration after sewing. Use the center third of the panel for critical text, fine rules, and small marks, and approve panel logo alignment on a sewn sample before bulk production. That approach lowers rework risk and keeps custom umbrella branding readable at distance instead of only looking correct on a flat layout.
Fabric choice also changes edge sharpness and color hold. Pongee 190T is the common lower-cost option and is usually fine for simple logos, but it shows softer edges on tiny type and can fade faster under sun and rain. Pongee 210T gives a tighter weave, better ink hold, and cleaner edges for canopy print specs that need small text, thin lines, or precise registration. For the print method, screen printing is best for bold logos, solid shapes, and higher quantities because it is cost-efficient and stable. Digital printing works best for gradients, multi-color artwork, and short runs, but very fine details can soften on textured fabric. Transfer is the best fallback for crisp text and small marks when the design is detailed or the panel area is limited, although it adds labor and usually increases unit cost. For sourcing, confirm fabric grade, printable area in millimeters, seam clearance, MOQ, sample lead time, and whether the factory is quoting FOB or DDP before you approve the order.
Specify branding for repeat orders and factory QC
For repeat orders, the spec sheet should lock down the umbrella logo placement guide in writing: logo file format, Pantone target, artwork version, canopy print specs, and exact placement geometry. Require vector files in AI, EPS, or print-ready PDF with outlined fonts, plus a low-res JPG or PNG preview for reference only. Record the approved Pantone code, the canopy material and print method, and the substrate color, such as 190T or 210T pongee, POE, or dark PVC. That matters because the same ink reads differently on each surface, and a reorder can drift if the factory rebuilds artwork from a screenshot or an untagged image. Include the master file name, revision date, and one approved sample photo in the spec sheet so merchandisers and QC are checking the same branded umbrella artwork across every shipment batch. This also reduces disputes on color matching and keeps custom umbrella branding consistent when the same program repeats months later.
Placement needs hard numbers, not “centered nicely.” List the panel count, canopy size, panel width, seam locations, and the distance from the tip, hem, and nearest seam in millimeters. Add tolerance limits such as ±2 mm for print position and, where relevant, ±1 panel for repeat orientation so the factory has a measurable target. For panel logo alignment, note the frame count and structure—8K, 10K, 16K, or vented double-canopy—because the visual center changes by rib layout and umbrella size, whether it is 21-inch, 23-inch, 27-inch, or 30-inch. If the logo repeats across panels, specify repeat spacing, rotation angle, and registration shift limits. That keeps the canopy graphic aligned from one order to the next and prevents small shifts when the same art moves between travel umbrellas and golf umbrellas.
QC should be tied to AQL 2.5 with named inspection points so each lot is judged the same way. State the sample size by lot, define major and minor defects, and list the checks the inspector must confirm: Pantone deviation, print blur, broken edges, off-center placement, seam interference, missing panels, and ink transfer after rubbing. Add the control stages where logo position is verified—fully open, mid-open, and closed—because some misalignment only appears when the ribs flex. A spec sheet built this way reduces drift across reorders and shipment batches because the factory is not relying on memory or email threads. It also lowers risk on lead time, rework, and chargebacks by giving production and QC one master reference instead of a loose approval trail.
Control commercial details: MOQ, samples, and lead times
Placement complexity changes MOQ, sample count, and schedule the moment artwork moves beyond a simple one-color mark. A centered logo on one 21" or 23" panel can usually run with a basic screen setup and a lower MOQ because registration is straightforward. Once the order shifts to full-panel art, edge-to-edge wraps, metallic ink, or mixed placements across 8K, 10K, or 16K frames, the canopy print specs tighten and the factory needs more test material, tighter panel logo alignment checks, and a higher reject allowance. For an umbrella logo placement guide, that means more pre-production labor, more risk on cutting and sewing, and a higher unit cost for custom umbrella branding.
For branded umbrella artwork on pongee 190T or 210T canopies, the sample flow usually starts with a strike-off or digital proof, then moves to a sewn pre-production sample when the design sits near seams, tips, or ribs. Artwork that looks centered on a flat file can shift several millimeters after sewing, tensioning, and waterproof coating, especially with gradients, multiple Pantone colors, or photo-level detail. That is why precise canopy print specs often add several days to approval and move production lead time from roughly 25–35 days to 35–50 days, depending on revision count, coating type, and construction such as auto-open, auto-open-close, or double-canopy. Buyers should also plan for AQL 2.5 inspection on bulk lots when decoration quality is part of the acceptance standard.
FOB usually works better than DDP for branded umbrella programs with custom decoration when the buyer has a freight forwarder or an in-house import team. FOB keeps control of the international leg, makes it easier to consolidate mixed SKUs, and avoids paying customs clearance, inland delivery, and last-mile charges before the first production lot is fully approved. DDP is better for small orders, simple destinations, or buyers that need one landed price with no logistics handling, but it becomes less efficient when artwork changes after sampling or when the shipment needs split routing. For custom umbrella branding, FOB also reduces the cost of correcting a first-run artwork issue before a repeat order ships, which matters more than a quoted landed rate that hides freight and duty risk.
Frequently Asked Questions
What is the safest place for a logo on a folding umbrella canopy?
The safest area is usually the center of one panel, away from seam lines and the top curve. For compact umbrellas, keep text larger and avoid placing critical details near the panel edges.
Can the same logo placement be used on both straight and folding umbrellas?
Usually no, because the panel geometry and rib count change the visible area. A placement that looks balanced on a golf umbrella may be too close to seams on a compact 8K folding model.
What artwork details should I provide before confirming umbrella logo placement?
Send a vector file, the exact logo size in millimeters, preferred panel location, and any color references. For production approval, factories usually create a proof showing seam breaks, center alignment, and the final print area before sampling.
How much space should I leave around a logo on umbrella panels?
A safe zone of at least 5-10 mm from stitching, panel edges, and seams is commonly used to avoid distortion during sewing and opening. For larger logos, the artwork may need to be split across panels or resized to fit the canopy curve.
How do factories keep logo placement consistent on repeat umbrella orders?
They save the approved artwork position, panel count, and print coordinates in the production record. If the umbrella style, canopy size, or frame changes, the placement should be rechecked because the same logo may shift by 10-20 mm across different models.
Looking to Launch Your Custom Umbrella Line?
ZheBrella is a Zhejiang-based OEM/ODM umbrella manufacturer with 17 years of export experience. Free design, low MOQ from 100 pieces, windproof construction, full-color print.
Get Free Quote Now »People Also Search For
Related Articles
Umbrella Logo Placement Strategies for Different Brand Goals
Learn how logo placement changes visibility, resale value, and repeat use on branded umbrellas, with print-area and pane...
Read More »
Umbrella Print Registration Tolerance for Clean Branding Results
Set practical print registration tolerances for umbrellas, including panel alignment, bleed, and QC checkpoints that hel...
Read More »
Artwork Setup Rules for Clean Umbrella Branding Results
Get practical artwork setup rules for umbrellas, including bleed, panel alignment, safe zones, and production tolerances...
Read More »