Choosing Logo Placement for Large Canopy Umbrellas
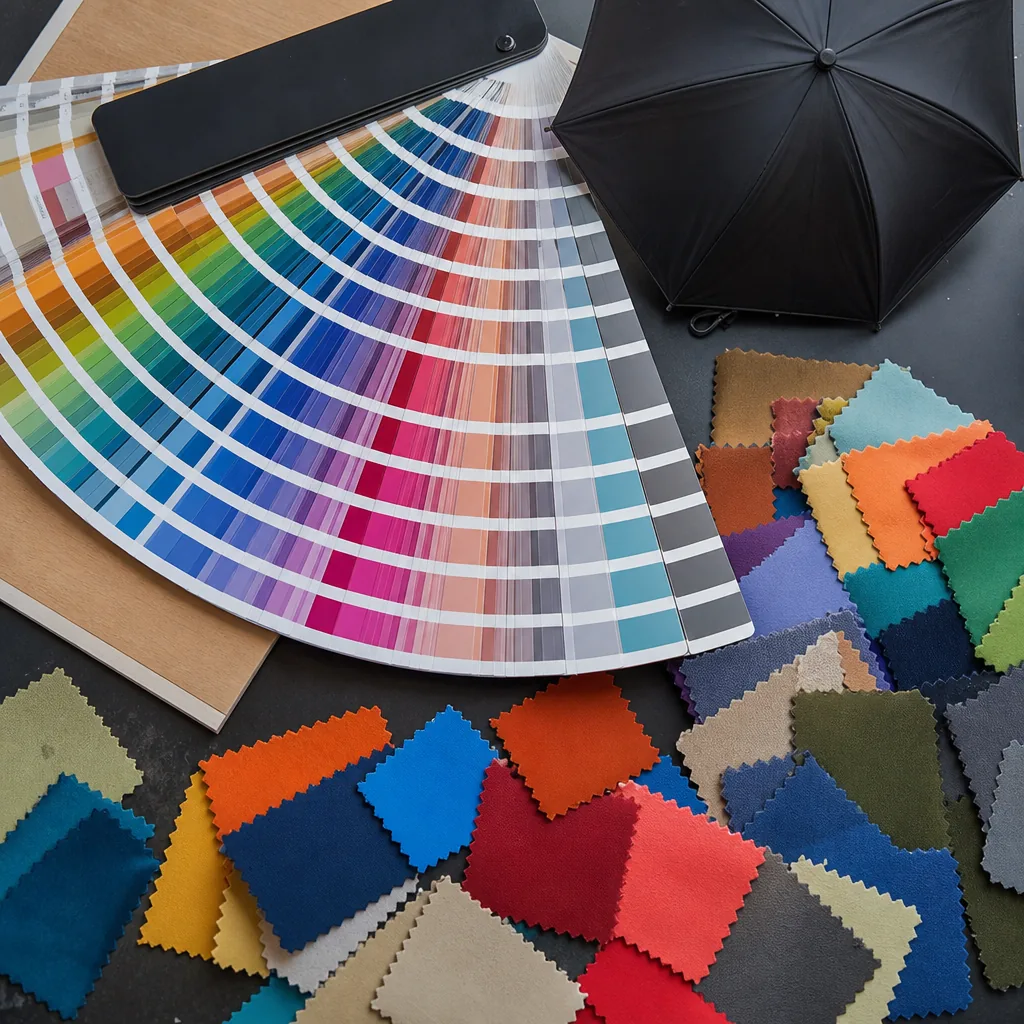
Choosing logo placement on a large canopy umbrella starts with the panel layout, the real seam allowances, and how the fabric moves once the frame opens under load. From the factory floor, the goal is simple: keep the brand visible from typical viewing angles without crossing stitch lines, vents, or high-stress zones that can distort print quality, reduce yield, or create avoidable rework.
What makes large-canopy placement different
Large canopy umbrella logo placement is not the same problem as on a compact 21-inch promotional umbrella. Once you move to 8K and especially 16K construction, the canopy is divided into more narrow panels, so the artwork has to survive more seam breaks and more visual interruptions. A logo that looks clean on a flat mockup can get chopped by ribs, distortion lines, or panel curvature once it is sewn on. Vented canopies make this even trickier because the upper and lower layers create separate print zones, so the artwork has to be planned around both the visible area and the airflow gap.
For logo size on umbrellas, the center of the panel usually reads fastest at distance because the eye naturally lands there first, but it can also look cramped if the mark is too close to the hub or distorted by the crown curve. A midline placement usually gives the best balance between visibility and manufacturability because it avoids the worst of the seam breaks while keeping the logo in a flatter part of the fabric. Edge placement can work for a bold identifier or repeated pattern, but it is less reliable for primary branding because the edge wraps out of sight when the canopy tilts or the user walks into wind.
The right umbrella artwork layout depends on how you want brand visibility on umbrellas to work in real use, not in a render. At a glance from across a street or event field, a centered mark reads as a single brand block; from a side angle, a mid-panel logo often holds up better because it stays visible longer as the canopy rotates. Our standard practice is to map canopy print zones panel by panel before approving art, because the same logo can need a different scale on an 8K vented frame than on a 16K non-vented one. That is the practical difference between choosing a pretty layout and choosing one that still reads when the umbrella is moving, wet, and viewed from 10 to 20 feet away.
Compare placement zones by brand goal
Retail branding usually wants the logo where the eye lands first, and on a large canopy umbrella that is almost always the front-facing panel or the panel aligned with the carrying hand. For a clean, high-end look, a single-panel placement gives the best control over logo size on umbrellas because you can keep the mark large, centered, and legible from a distance without fighting seams or vent cuts. In practice, I usually recommend a full-panel print when the brand has a simple icon or a short wordmark; once the artwork gets too busy, the canopy print zones start working against you and the logo turns into noise. For premium retail programs, that is the safest large canopy umbrella logo placement because it looks intentional instead of crowded.
Trade-show visibility is different: you are trying to be seen from several angles, not just admired up close. Repeated-panel layouts work better here because the same mark appears multiple times as people move around the booth, which improves brand visibility on umbrellas even when one panel is blocked by a person or display wall. If the umbrella is a golf or 30-inch style, repeated-panel branding across every other panel often gives the best balance between impact and cost, especially when the umbrella artwork layout is limited to one-color screen print or a simplified vector. Opposite-panel layouts are a good middle ground for corporate use: they read cleanly from both directions, keep production straightforward, and avoid the distortion you get when a logo crosses too many panel seams.
For event giveaways, the goal is usually fast recognition and acceptable cost, not maximum print coverage. A smaller logo on one or two panels is usually enough, because giveaway umbrellas are handled quickly and the print only needs to survive brief exposure, not become a billboard. If the artwork has fine text, avoid wrapping it across multiple canopy print zones; seams and curvature will break the letters, and the umbrella will look cheap even if the print itself is technically sharp. The practical rule is simple: single-panel for premium retail, repeated-panel for visibility at distance, and opposite-panel for balanced corporate giveaways; once you choose the brand goal first, the logo size on umbrellas and the umbrella artwork layout become much easier to lock down.
Match placement to print method and fabric
Screen print is the most forgiving option on 190T pongee when you want clean brand blocks, sharp text, and repeatable color, especially on flat panels with a simple umbrella artwork layout. On 210T, the tighter weave gives you a slightly cleaner edge and better ink hold, but you still have to respect stitch lines, panel curvature, and seam pull. Digital print can carry gradients and photographic work, but on coated pongee it can look dull if the fabric finish is too slick, so it needs a proper pretest. Transfers are fine for short-run large canopy umbrella logo placement, but they sit on top of the cloth and will telegraph every wrinkle if the panel is under tension.
Fiberglass frames usually give you better control for logo size on umbrellas because the ribs flex more consistently and the canopy returns to shape with less twist, so your print zones stay closer to the approved template. Steel ribs are stiffer, which helps keep the panel flatter during sewing, but once the umbrella cycles open and shut, the alignment tolerance is less forgiving because any small hole-position error shows up as a skewed logo near a seam or tip. That matters when you are planning canopy print zones around vents, double-canopy gaps, or centered logos that must read square from a distance. In practice, I allow more margin on steel-framed units if the artwork sits close to the panel edges.
Edge-to-edge printing is realistic only when the panel design is built for it from the start: fewer colors, controlled bleed, and enough safe area to absorb seam distortion at the ribs. On 190T pongee, full-bleed coverage can work for bold tonal fields, but it is not the place to expect perfect registration across every panel; the fabric stretch changes after cutting and stitching. Tonal printing is more reliable on 210T when the logo is subtle and the goal is brand visibility on umbrellas rather than exact fine-line detail. For large canopy umbrella logo placement, the cleanest results come from designing the umbrella artwork layout around the panel geometry instead of forcing a flat graphic onto a curved surface.
Set approval rules for legibility and consistency
For large canopy umbrella logo placement, start with hard legibility rules instead of art direction. On a 27" or 30" canopy, I would not approve a logo under 35 mm tall for a simple mark and 45 mm tall for text that needs to read at distance; for a 21" or 23" canopy, the floor drops to 25 mm and 35 mm respectively. Keep at least 10 mm of clear space around the logo edge on small panels and 15 to 20 mm on larger panels, measured from any seam, vent cut, runner clearance, or panel edge. If the artwork uses fine lines, thin strokes below 0.6 mm usually break up after heat transfer or screen printing, so they should be thickened before production.
Color contrast is the other gate, and we check it against the actual fabric, not a monitor. On pongee 190T or 210T, dark logos on light canopy print zones are the safest; light-on-dark needs stronger ink build or an underbase, otherwise brand visibility on umbrellas drops once the canopy gets wet or backlit. For proof approval, require a full-size PDF or vector mockup showing the exact umbrella artwork layout on the real panel template, plus a physical strike-off if the order is over 500 pieces or uses a tight Pantone match. I also lock the Pantone codes, print method, logo dimensions, placement offset from the seam, and which panel gets the primary mark, because those details are where repeat orders go wrong.
For inspection, I treat AQL 2.5 as the minimum screen: no shifted placement beyond ±3 mm from the approved template, no broken edges, no color bleed into the seam allowance, and no missing ink in critical strokes or small text. Check the first 5 pieces from each print run, then sample by lot after drying and folding, because a design can look fine flat and fail when the canopy is tensioned. On the spec sheet, freeze the panel count, umbrella size, canopy fabric, print method, approved logo size on umbrellas, exact print zone, color references, and the signed approval file name; that is what keeps reorders consistent instead of renegotiating the artwork every time.
Order planning details buyers should confirm
For large canopy umbrella logo placement, the first thing buyers should lock down is order math, not artwork. Our standard practice is to quote MOQ by structure and print method: a plain manual-open 23" or 27" umbrella often starts lower than an auto-open-close model with vented double canopy and full-panel decoration. Sample lead time is usually 5–7 days once the artwork and panel map are approved, while bulk lead time runs about 25–35 days for standard materials like 190T pongee or 210T pongee, longer if you add Teflon coating, UV UPF 50+, or complex sublimation across multiple canopy print zones.
Buyers should also confirm the shipping term up front, because FOB and DDP change the real landed cost more than the print price does. FOB is cleaner when the buyer already has a freight forwarder; DDP is better when they want one invoice and no customs handling. For artwork, the factory should ask for vector files such as AI, EPS, or editable PDF, plus Pantone references if color match matters. If the artwork is only a raster image, it should be high-resolution at actual print size, otherwise the logo size on umbrellas will look soft once it is scaled to the curved canopy panels.
Panel mapping matters more than most buyers expect, especially on a large canopy umbrella logo placement job with repeat logos or multi-color branding. A proper umbrella artwork layout should show panel count, seam breaks, center panel position, and any safe area lost to stitching, vents, or ribs; otherwise the logo can land across a seam and look crooked in production. We can provide digital mockups before sampling, and that step is worth doing because it catches proportion problems early and keeps brand visibility on umbrellas consistent across 8K, 10K, or 16K frames. Once the mockup is signed off, the sample usually follows the approved layout without surprises.
Frequently Asked Questions
Where should a logo go on a large umbrella for the best visibility?
For most B2B programs, the best spot is a front-facing outer panel or repeated on alternating panels so the mark is visible from multiple angles. Very large canopies often need a center-weighted layout to avoid seam distortion.
How do I prevent a logo from looking too small on a big canopy?
Use a canopy mockup with actual panel dimensions, not just a flat artwork file. Ask the factory to confirm logo width against the open-diameter size so the mark stays readable at 3 to 5 meters.
How far should a logo stay from umbrella seams and edges?
For large canopy umbrellas, keep key logo elements at least 15–25 mm away from seams, tips, and the outer hem. This safe zone helps prevent distortion during sewing and reduces the risk of misalignment across panels.
Is it better to print one large logo or repeat smaller logos on multiple panels?
For retail and distributor orders, repeated logos on 2, 4, or 8 panels usually give better brand visibility from multiple angles. A single oversized logo can work for event or golf umbrellas, but it requires tighter artwork control and may increase rejection risk if it crosses seams.
What artwork files are usually required for large canopy umbrella logo placement?
Factories typically request vector artwork in AI, PDF, or EPS format with Pantone color references and the intended print size in millimeters. For OEM orders, approve a digital layout and pre-production sample before bulk production, especially when printing on multiple canopy panels.
Looking to Launch Your Custom Umbrella Line?
ZheBrella is a Zhejiang-based OEM/ODM umbrella manufacturer with 17 years of export experience. Free design, low MOQ from 100 pieces, windproof construction, full-color print.
Get Free Quote Now »People Also Search For
Related Articles
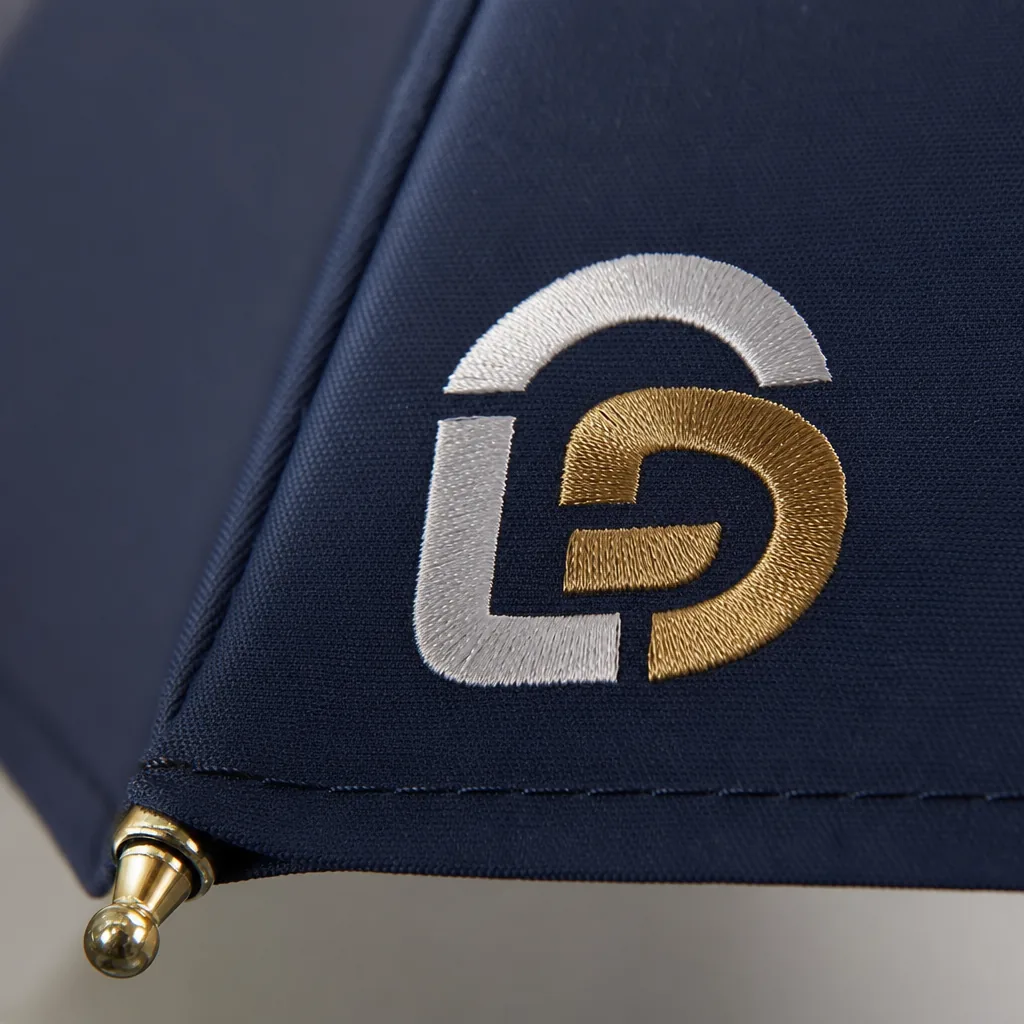
Top 5 Logo Size Decisions for Branded Umbrella Panels
Plan logo size by umbrella type, panel count, print method, and buyer approval needs before sampling branded umbrella or...
Read More »
How to Specify Logo Size and Placement on Umbrellas
Learn how to specify logo size, placement, and panel count so branded umbrellas stay readable, balanced, and production-...
Read More »Refined Logo Placement Specs for Branded Umbrella Canopies
Plan logo placement on umbrellas with clear specs for panel size, safe zones, seam breaks, and repeat-order consistency ...
Read More »